Managing screenshots on a Mac can be incredibly commodious, but sometimes the default location for relieve screenshots might not be ideal. Whether you want to mastermind your screenshots wagerer or simply prefer a different leaflet, knowing how to change screenshot location Mac can save you time and effort. This guide will walk you through the steps to change the default screenshot location on your Mac, check that your screenshots are saved just where you require them.
Understanding the Default Screenshot Location
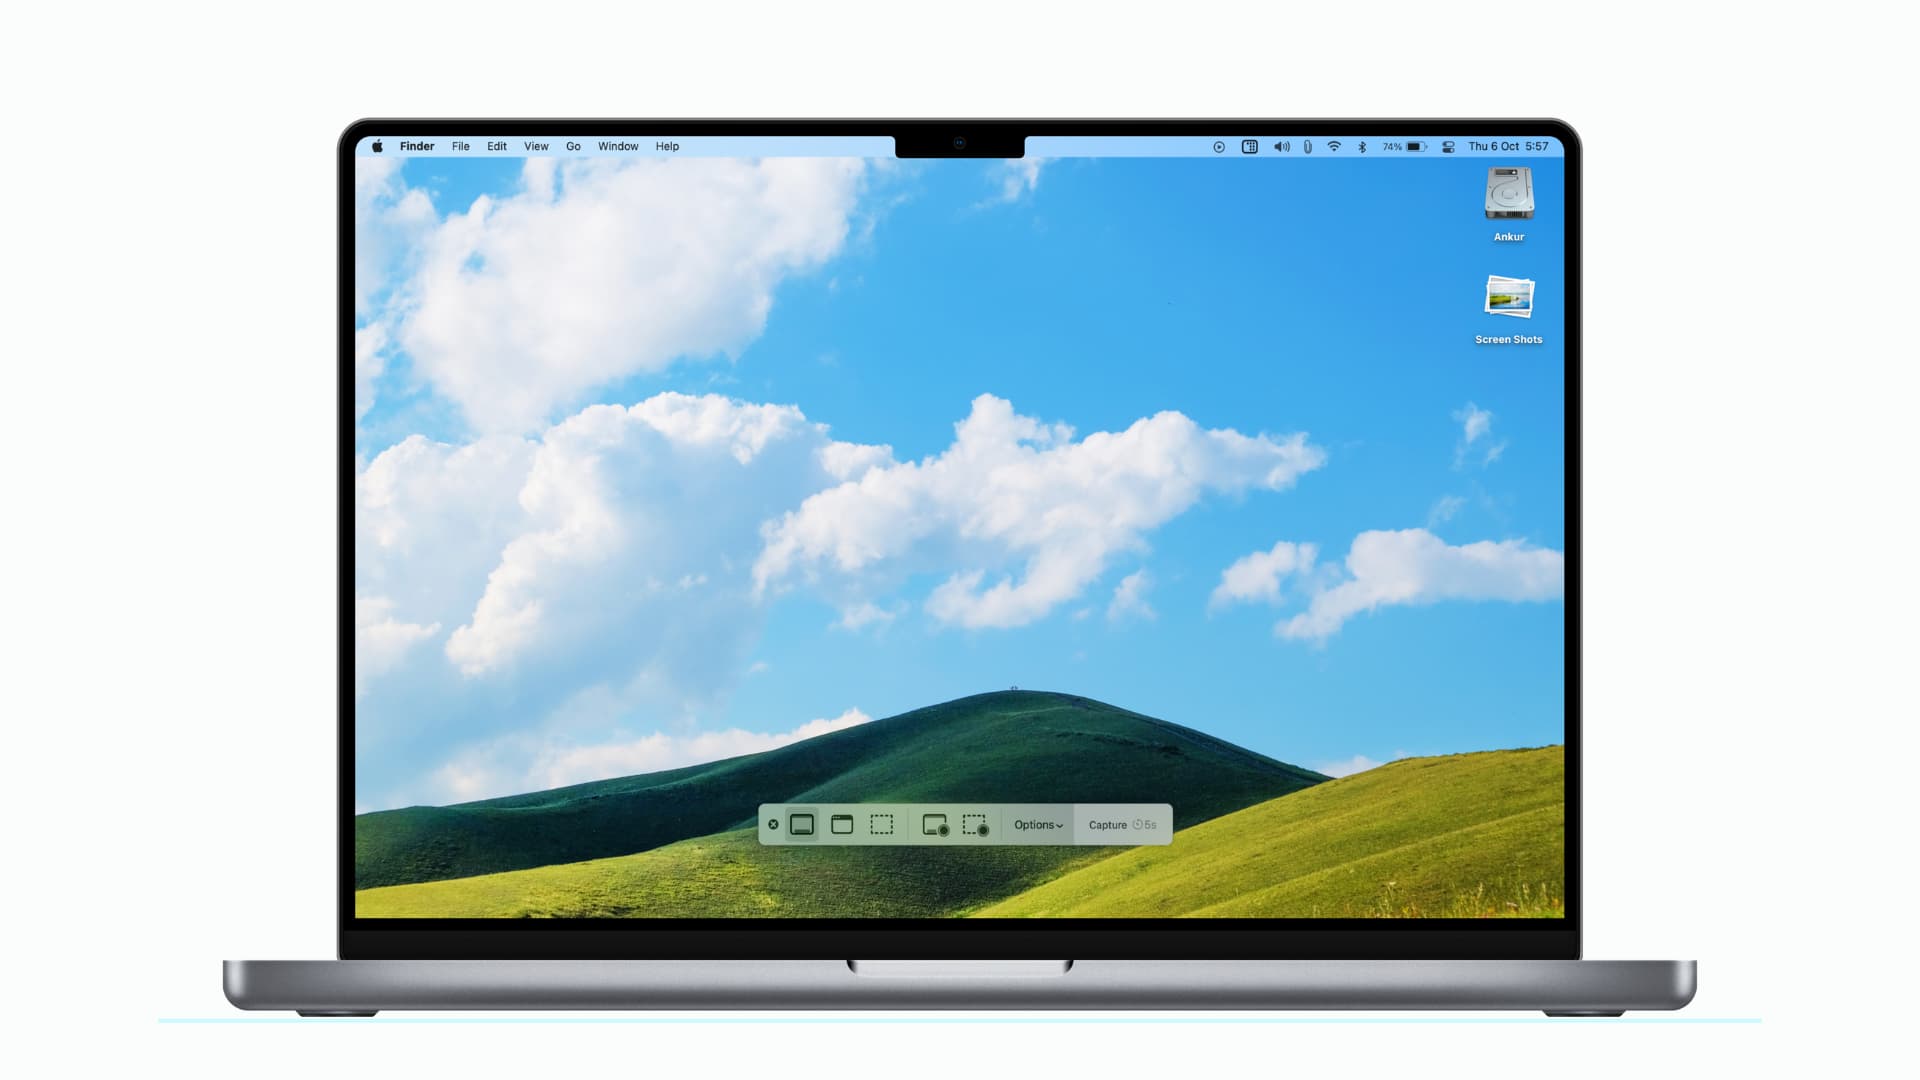
By default, MacOS saves screenshots to the Desktop. This can promptly welter your desktop, particularly if you take a lot of screenshots. Fortunately, MacOS provides a straightforward way to alter this default locating. You can redirect screenshots to any folder of your choice, such as a dedicate Screenshots brochure within your Documents or another favour directory.
Changing the Screenshot Location on Mac
Changing the screenshot location on a Mac involves using the Terminal application. Here s a step by step guide to help you through the process:
Step 1: Open Terminal
To start, you demand to unfastened the Terminal covering. You can do this by:
- Clicking on the Spotlight search icon in the top right nook of your sort and typing Terminal, then exhort Enter.
- Navigating to Applications Utilities Terminal.
Step 2: Set the New Screenshot Location
Once Terminal is exposed, you can use a command to alter the default screenshot positioning. The command involves delimit the path to the new booklet where you want to save your screenshots. for representative, if you want to save screenshots to a pamphlet name Screenshots within your Documents directory, you would use the following command:
defaults write com.apple.screencapture location ~/Documents/Screenshots
Replace~/Documents/Screenshotswith the path to your want leaflet. Make sure the folder exists; if it doesn t, you can create it manually through Finder.
Step 3: Apply the Changes
After enrol the command, you need to restart the SystemUIServer to apply the changes. You can do this by participate the postdate command in Terminal:
killall SystemUIServer
This command will restart the SystemUIServer, and your changes will direct effect forthwith.
Step 4: Verify the Change
To ensure that the vary has been utilise, take a new screenshot by pressing Command Shift 3 or Command Shift 4. The screenshot should now be preserve to the new location you set.
Note: If you encounter any issues or the screenshots are not save to the new location, double check the pamphlet path and insure there are no typos in the command.
Additional Tips for Managing Screenshots
Changing the screenshot location is just one way to manage your screenshots more effectively. Here are some extra tips to facilitate you continue your screenshots form:
Create a Dedicated Screenshots Folder
Having a devote folder for screenshots can facilitate keep your files organise. You can make a pamphlet named Screenshots in your Documents directory or any other fix that suits your needs. This leaflet can then be used as the default location for salvage screenshots.
Use Finder Tags
MacOS allows you to tag files for easier arrangement. You can tag your screenshots with relevant keywords, get it easier to search and find them later. To tag a screenshot, select the file in Finder, right click, and prefer Tags. Then, add the desire tags.
Automate Screenshot Naming
By default, MacOS names screenshots with a timestamp, which can be helpful for proceed track of when they were taken. However, you can customise the make formula if need. This can be done by edit the screenshot command in Terminal, but it requires more supercharge scripting noesis.
Troubleshooting Common Issues
While vary the screenshot location is broadly straightforward, you might encounter some issues. Here are a few mutual problems and their solutions:
Screenshots Not Saving to the New Location
If your screenshots are not saving to the new positioning, double check the folder path you entered in Terminal. Ensure there are no typos and that the brochure exists. You can also try restarting your Mac to see if that resolves the issue.
Permission Issues
If you encounter permit issues when judge to salvage screenshots to a new location, create sure you have the necessary permissions for the pamphlet. You can vary the permissions by right clicking the folder, take Get Info, and correct the permissions under the Sharing Permissions subdivision.
SystemUIServer Not Restarting
If the SystemUIServer does not restart after entering the command, try re-start your Mac. This should apply the changes and allow your screenshots to save to the new location.
Note: If you continue to experience issues, consider reaching out to Apple Support for further assistance.
Conclusion
Changing the screenshot location on your Mac is a simple yet effective way to keep your files organized and your desktop clutter free. By follow the steps outlined in this usher, you can easily redirect your screenshots to any folder of your choice. Whether you prefer to save them in your Documents directory or another location, the procedure is straightforward and can be complete in just a few minutes. Additionally, using Finder tags and make a devote screenshots booklet can further raise your brass and productivity. With these tips and tricks, you ll be well on your way to managing your screenshots like a pro.
Related Terms:
- where do mac screenshots go
- where are my mac screenshots
- macos where are screenshots saved
- where do screenshots go macbook
- mac save screenshot location
- mac where is screenshot saved