Mastering the art of moving columns in Excel is a rudimentary skill that can importantly heighten your productivity and efficiency when working with spreadsheets. Whether you're reorganizing datum, aline columns for punter readability, or preparing data for analysis, understanding how to displace columns efficaciously is crucial. This guide will walk you through the various methods to locomote columns in Excel, insure you can deal any data use task with ease.
Understanding the Basics of Moving Columns in Excel
Before diving into the specific techniques, it's indispensable to grasp the basics of how columns act in Excel. Columns are upright sections in a spreadsheet, pronounce with letters (A, B, C, etc.). Each column can curb a variety of datum types, include text, numbers, dates, and formulas. Moving columns involves rearrange these erect sections to punter suit your datum organization needs.
Why Move Columns in Excel?
There are various reasons why you might take to move columns in Excel:
- Data Organization: Rearranging columns can aid you organize your data more logically, get it easier to read and analyze.
- Data Analysis: Moving columns can align information in a way that makes it easier to perform calculations and create charts.
- Reporting: When preparing reports, you might take to displace columns to match a specific format or layout.
- Collaboration: Sharing spreadsheets with others often requires columns to be in a particular order for clarity and consistency.
Methods for Moving Columns in Excel
Excel offers multiple methods for move columns, each with its own advantages. Below are the most mutual techniques:
Method 1: Drag and Drop
The drag and drop method is the simplest and most nonrational way to locomote columns in Excel. Here s how to do it:
- Select the column you need to displace by click on the column coping (the letter at the top of the column).
- Hover your mouse pointer over the edge of the selected column until the arrow changes to a crossed arrows icon.
- Click and hold the left mouse button, then drag the column to the desired position.
- Release the mouse button to drop the column in its new position.
Note: This method is quick and easy but can be less precise for displace multiple columns or big datasets.
Method 2: Cut and Paste
The cut and paste method provides more control over the movement of columns. Follow these steps:
- Select the column you desire to travel by snap on the column header.
- Right click on the take column header and opt "Cut" from the context menu, or press Ctrl X on your keyboard.
- Click on the column header where you desire to insert the moved column.
- Right click on the select column header and take "Insert Cut Cells" from the context menu, or press Ctrl V on your keyboard.
Note: This method is useful for moving columns to specific locations and can manage multiple columns more effectively than drag and drop.
Method 3: Using the "Move or Copy" Dialog Box
For more progress users, the "Move or Copy" dialog box offers precise control over column movement. Here s how to use it:
- Select the column you need to travel by snap on the column heading.
- Right click on the selected column head and select "Move or Copy" from the context menu.
- In the "Move or Copy" dialog box, select the address worksheet and the cell where you desire to travel the column.
- Check the "Create a copy" box if you desire to copy the column instead of go it.
- Click "OK" to complete the operation.
Note: This method is ideal for locomote columns between different worksheets within the same workbook.
Moving Multiple Columns in Excel
Sometimes, you need to move multiple columns at once. Here s how to do it:
Method 1: Selecting Multiple Columns
To move multiple columns simultaneously, postdate these steps:
- Click and drag to choose the columns you want to travel. You can also hold down the Ctrl key and click on multiple column headers to take them.
- Use the drag and drop method or the cut and paste method to move the choose columns to the trust location.
Note: Ensure that the columns you are moving do not contain any critical information that might be disrupted by the displace.
Method 2: Using the "Move or Copy" Dialog Box for Multiple Columns
For moving multiple columns between worksheets, use the "Move or Copy" dialog box:
- Select the columns you desire to move by clicking and dragging or make down the Ctrl key and clicking on multiple column headers.
- Right click on one of the selected column headers and choose "Move or Copy" from the context menu.
- In the "Move or Copy" dialog box, select the address worksheet and the cell where you want to displace the columns.
- Check the "Create a copy" box if you desire to copy the columns instead of moving them.
- Click "OK" to complete the operation.
Note: This method is especially useful for regroup large datasets across different worksheets.
Common Issues and Troubleshooting
While moving columns in Excel is generally straightforward, you might brush some issues. Here are a few common problems and their solutions:
Issue 1: Data Disruption
Moving columns can sometimes disrupt datum, especially if there are formulas or references affect. To avoid this:
- Ensure that any formulas or references are updated to reflect the new column positions.
- Use the "Find and Replace" feature to update references promptly.
Issue 2: Column Width Adjustment
After moving columns, you might require to adjust the column widths to preserve readability. Here s how:
- Select the columns whose widths you want to adjust.
- Double click the boundary on the right side of the choose column headers to auto fit the column widths.
- Alternatively, you can manually adjust the column widths by drag the boundaries.
Issue 3: Data Validation Rules
If your columns have datum proof rules, locomote them might impact these rules. To ensure data validation rules are maintained:
- Select the columns you moved.
- Go to the "Data" tab and click on "Data Validation".
- Adjust the validation rules as require to reflect the new column positions.
Advanced Techniques for Moving Columns in Excel
For more advanced users, Excel offers additional techniques for travel columns expeditiously. Here are a few:
Using VBA for Automated Column Movement
If you frequently want to move columns in a specific pattern, consider using VBA (Visual Basic for Applications) to automate the operation. Here s a bare VBA script to travel a column:
Sub MoveColumn()
    Dim ws As Worksheet
    Set ws = ThisWorkbook.Sheets(“Sheet1”) ‘ Change to your sheet name
    ws.Columns(“B”).Cut
    ws.Columns(“D”).Insert Shift:=xlToRight
End Sub
This script moves column B to the position of column D. You can customize the script to fit your specific needs.
Note: VBA scripts require some program cognition. Ensure you have a backup of your datum before running any scripts.
Using Power Query for Data Transformation
Power Query is a potent tool for information shift in Excel. It allows you to travel columns and perform other data manipulations efficiently. Here s how to use Power Query:
- Select your data range and go to the "Data" tab.
- Click on "From Table Range" to load your datum into Power Query.
- In the Power Query Editor, use the "Reorder Columns" lineament to travel columns as postulate.
- Click "Close Load" to apply the changes and revert to Excel.
Note: Power Query is available in Excel 2016 and later versions. It provides a optical interface for information transmutation, making it easier to locomote columns and perform other operations.
Best Practices for Moving Columns in Excel
To assure smooth and effective column movement in Excel, postdate these best practices:
- Backup Your Data: Always make a backup of your datum before making important changes.
- Plan Ahead: Determine the new positions of your columns before moving them to avoid disruptions.
- Use Descriptive Names: Rename your columns with descriptive names to create it easier to identify them after moving.
- Check Formulas and References: Ensure that any formulas or references are updated to reflect the new column positions.
- Adjust Column Widths: After moving columns, adjust the column widths to sustain legibility.
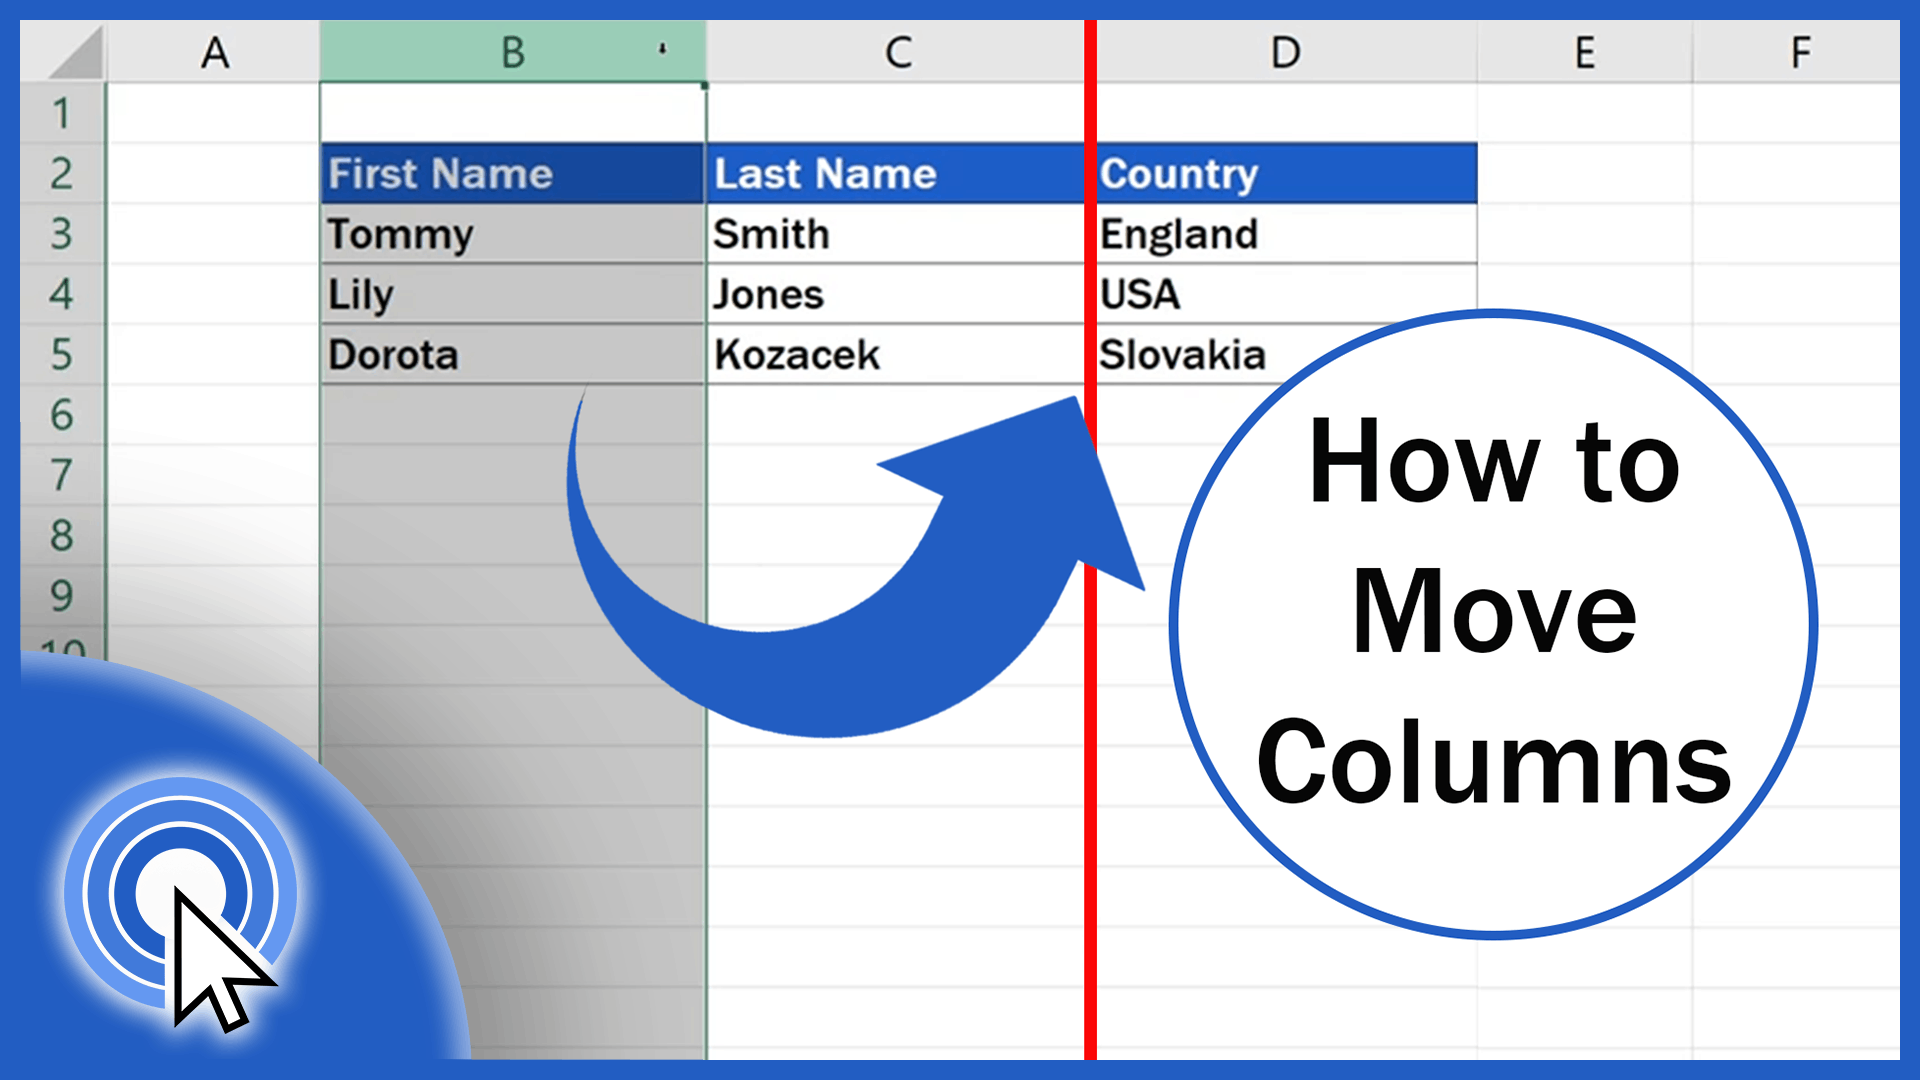
Moving Columns in Excel: A Practical Example
Let s go through a practical example to illustrate the process of moving columns in Excel. Suppose you have a dataset with columns A, B, C, and D, and you want to locomote column B to the perspective of column D.
Here s a step by step guide:
- Select column B by clicking on the column head.
- Use the drag and drop method to move column B to the position of column D.
- Adjust the column widths as needed to maintain readability.
After moving the column, your dataset should appear like this:
| Column A | Column C | Column B | Column D |
|---|---|---|---|
| Data 1 | Data 3 | Data 2 | Data 4 |
| Data 5 | Data 7 | Data 6 | Data 8 |
This instance demonstrates how to move a single column using the drag and drop method. You can employ similar steps to move multiple columns or use other methods as needed.
Mastering the art of locomote columns in Excel is crucial for effective datum management and analysis. By interpret the various methods and best practices, you can deal any datum handling task with assurance. Whether you re a beginner or an advanced exploiter, these techniques will help you organize your datum more efficaciously and better your overall productivity.
Related Terms:
- moving columns in excel table