Embarking on a home improvement task can be both stir and daunting, specially when it comes to insulation. One of the most effective and democratic methods for isolate your home is using spray insulation foam. This method not only provides fantabulous thermic resistance but also helps in sealing air leaks, do your home more energy efficient. If you're considering a spray insulant foam DIY undertaking, this guide will walk you through the process step by step.
Understanding Spray Insulation Foam
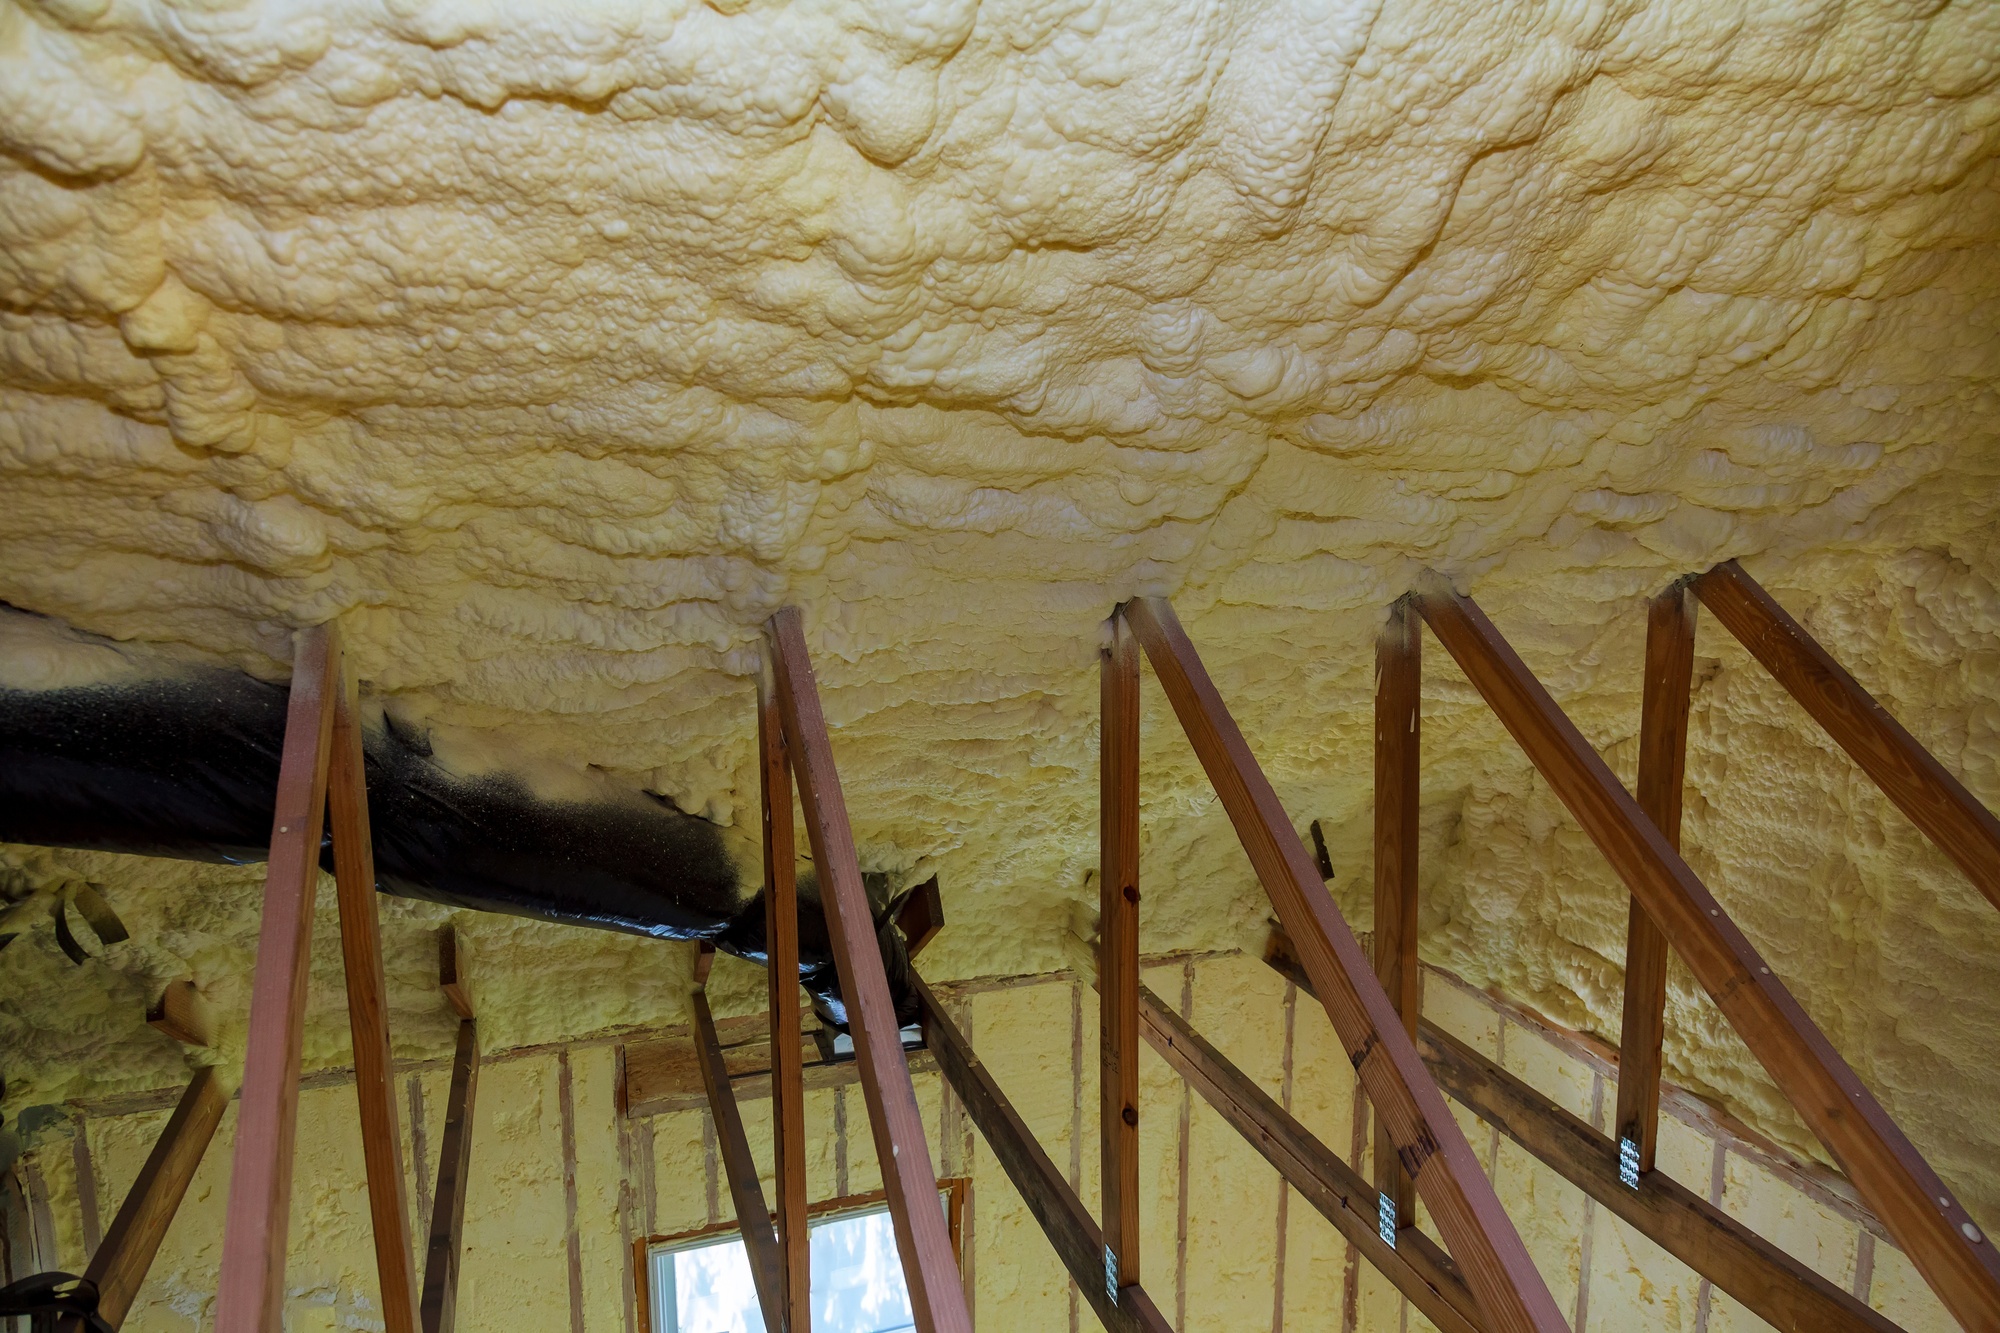
Spray insulation foam is a type of insulation that is applied as a liquid and expands to fill gaps and cracks, create a seamless roadblock. It is available in two master types: exposed cell and close cell foam. Open cell foam is less dense and more flexible, get it ideal for inside applications. Closed cell foam, conversely, is denser and provides punter insulant and moisture resistance, making it suited for both inside and outside use.
Benefits of Spray Insulation Foam
There are respective benefits to using spray insularity foam for your DIY project:
- Energy Efficiency: Spray foam insulation helps cut energy costs by sealing air leaks and provide excellent thermal resistance.
- Moisture Control: Closed cell foam acts as a moisture roadblock, forestall water from entering your home.
- Soundproofing: Spray foam insulation can also assist cut noise by assimilate sound waves.
- Durability: Once applied, spray foam detachment does not sag or settle over time, ensure long lasting performance.
Preparing for Your Spray Insulation Foam DIY Project
Before you begin your spray insulation foam DIY undertaking, it's essential to gathering the necessary tools and materials. Here's a list of what you'll involve:
- Spray foam detachment kit
- Safety gear (gloves, goggles, gasmask)
- Measuring tape
- Utility knife
- Caulk gun (if needed)
- Drop cloths or plastic sheets
- Painter's tape
Additionally, assure that the country you design to isolate is clean and gratis of debris. Cover any surfaces that you do not desire to be spray with drop cloths or pliant sheets.
Step by Step Guide to Applying Spray Insulation Foam
Follow these steps to utilise spray insulation foam efficaciously:
Step 1: Measure the Area
Use a measure tape to determine the square footage of the region you design to isolate. This will help you calculate the amount of spray foam insularism you need.
Step 2: Prepare the Spray Foam Kit
Open the spray foam insulation kit and postdate the manufacturer's instructions to prepare the foam. Typically, this involves shaking the can and attaching the spray nozzle.
Step 3: Apply the Spray Foam
Start by applying the spray foam in a thin, even level. Hold the can about 12 18 inches away from the surface and locomote the nozzle in a sweeping motion. Be sure to continue all gaps and cracks.
For larger areas, you may involve to employ multiple layers, allowing each layer to dry before applying the next. This ensures that the foam adheres decently and provides maximum insularism.
Step 4: Allow the Foam to Cure
After use the spray foam, countenance it to cure according to the manufacturer's instructions. This usually takes 24 48 hours. During this time, keep the region good ventilated to ensure proper curing.
Note: Avoid exposing the cured foam to unmediated sunlight or extreme temperatures, as this can regard its execution.
Safety Precautions for Spray Insulation Foam DIY
Working with spray detachment foam requires measured attention to safety. Here are some significant precautions to keep in mind:
- Wear protective gear, including gloves, goggles, and a respirator, to avoid skin and eye irritation and intake of fumes.
- Work in a well ventilate region to ensure proper air circulation.
- Avoid fume or using open flames near the spray foam, as it is flammable.
- Keep children and pets away from the work area until the foam has amply cured.
Common Mistakes to Avoid
To ensure a successful spray insulation foam DIY project, avoid these common mistakes:
- Not measuring the region accurately, prima to deficient insulant.
- Applying the foam too densely, which can cause it to sag or peel.
- Not allowing the foam to cure decent, leave in reduced insulant performance.
- Ignoring safety precautions, which can lead to health risks.
Note: Always postdate the manufacturer's instructions for the best results.
Cost Considerations for Spray Insulation Foam DIY
The cost of a spray insulation foam DIY project can vary depending on several factors, including the size of the country to be insulated, the type of foam used, and the tools required. Here's a breakdown of the costs you might encounter:
| Item | Cost Range |
|---|---|
| Spray foam insulation kit | 50 200 |
| Safety gear | 20 50 |
| Tools (measuring tape, utility knife, etc.) | 10 30 |
| Drop cloths or plastic sheets | 5 15 |
| Total Estimated Cost | 85 295 |
These costs are approximate and can vary free-base on your locating and the specific brands you take. Keep in mind that while the initial cost may seem eminent, the long term energy savings can make it a worthwhile investment.
Maintaining Your Spray Insulation Foam
Once your spray insulant foam DIY project is complete, it's essential to conserve the insulation to assure its longevity and effectuality. Here are some tips for maintaining your spray foam insularism:
- Inspect the insularism regularly for any signs of damage or wear.
- Keep the area clean and gratuitous of debris to prevent moisture buildup.
- Avoid unwrap the insulation to unmediated sunlight or extreme temperatures.
- Repair any cracks or gaps promptly to maintain insulation execution.
Note: Regular alimony can extend the lifespan of your spray foam detachment and ensure it continues to provide optimal performance.
Spray insulation foam is a versatile and effective result for insulate your home. By postdate the steps outlined in this guide, you can successfully complete a spray detachment foam DIY undertaking and enjoy the benefits of ameliorate energy efficiency, moisture control, and soundproof. With proper readying, covering, and care, your spray foam detachment will provide long last performance and aid you save on energy costs.
Related Terms:
- exposed cell spray foam diy
- diy spray foam insulant kits
- how to make spray foam
- spray foam wall insulation diy
- spray in detachment diy
- diy shut cell spray foam